The Connecticut Land Cover Viewer contains all dates of land cover as well as Change To and Change From layers. It also has many layers where towns are colored based on a particular land cover. For example, forest cover and forest cover change is shown by town. Open the viewer in it's own window and then use the layer list icon to explore.
Connecticut Viewer | Long Island Sound Watershed Viewer | Viewer Help
Interactive Map Help
Moving Around
![]() Zoom in and out of the map using the + and - tools located in the upper left.
Zoom in and out of the map using the + and - tools located in the upper left.
To move around the map, click on the map and hold the left mouse button while dragging, then release. This pans the map to different areas, but does not change the zoom.
![]() If you get "lost" on your map, use the home button to go back to the initial extent. The initial extent for the Long Island Sound Watershed is the full study area and the initial extent for Connecticut is the whole state.
If you get "lost" on your map, use the home button to go back to the initial extent. The initial extent for the Long Island Sound Watershed is the full study area and the initial extent for Connecticut is the whole state.
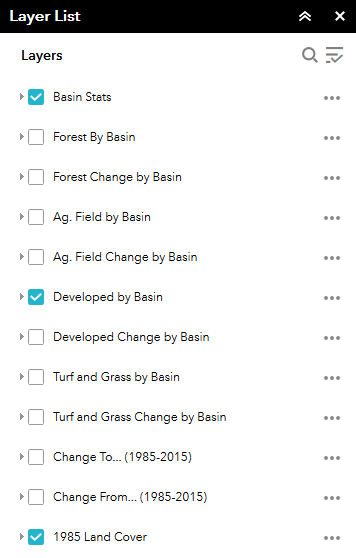 Layer List
The map contains many different layers. At first, Town Stats or Basin Stats and the 2015 Land Cover is visible.
The layers form a stack (bottom of the list draws on the bottom of the stack) and each layer can be turned on ![]() and off
and off ![]() . A check mark
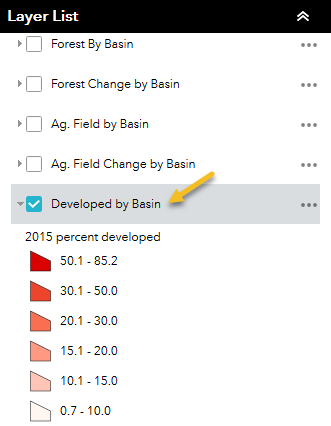
. A check mark ![]() means the layer is turned "on" and visible (as long as no other layer higher on the list is turned on and is hiding it from view). In the graphic to the right, notice that the Developed By Town layer is turned on (checked) along with the 1985 Land cover. Even though the 1985 Land Cover is turned on, it would not be not visible because the Developed By Town layer is covering it up. Uncheck the Developed By Town layer to see the Land Cover layer underneath it.
means the layer is turned "on" and visible (as long as no other layer higher on the list is turned on and is hiding it from view). In the graphic to the right, notice that the Developed By Town layer is turned on (checked) along with the 1985 Land cover. Even though the 1985 Land Cover is turned on, it would not be not visible because the Developed By Town layer is covering it up. Uncheck the Developed By Town layer to see the Land Cover layer underneath it.
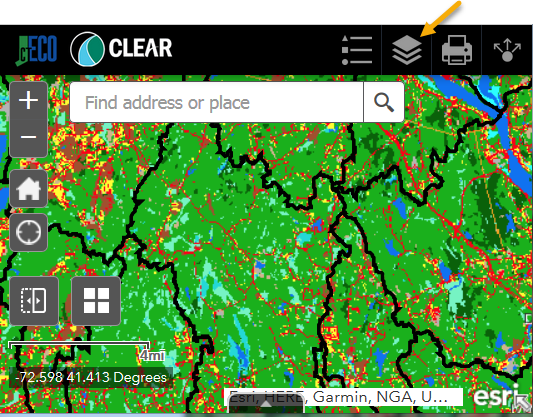
Legend
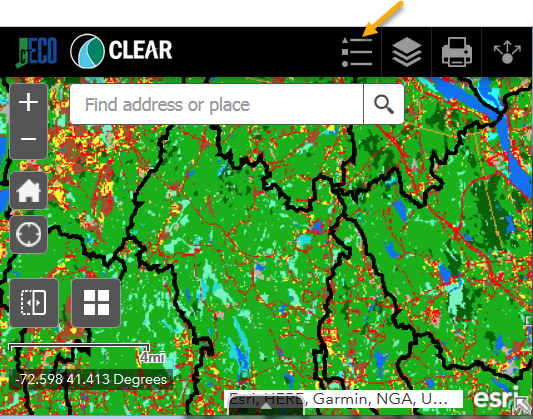
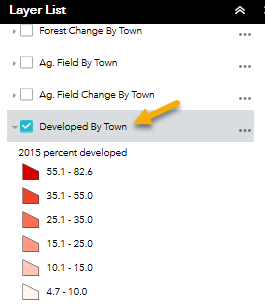
Click the Legend icon (upper right) to display the legend of all layers that are currently turned on in the map. OR click on the layer name (here, Developed by Town) to view the legend for that layer.

 Pop-ups
Clicking on the map is a way to get more information about a feature or location. The window that opens after clicking is called a pop-up. The pop-up shows information for layers that are currently turned on (checked) in the Layer List. The exception here is the raster (pixel) land cover layers which do not have pop-ups - use the Legend to determine what each color represents.
In a pop-up, notice ...
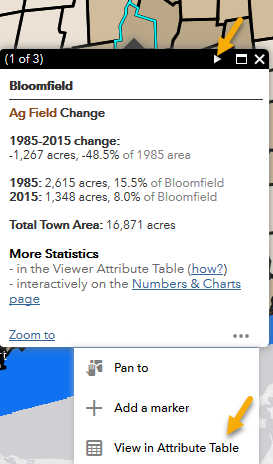
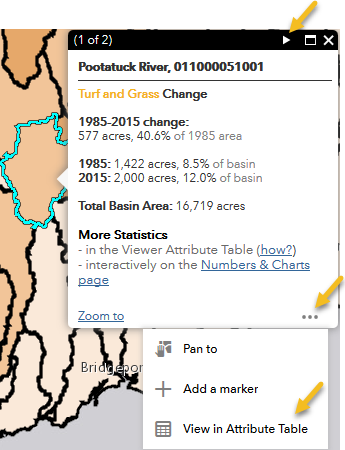
.. when multiple pop-ups are present. This occurs if more than one layer exists and is turned on where you click. Multiple pop-ups are present and are revealed in the top banner. On the graphics it says (1 of 2) or (1 of 3). This means multiple results were returned at that spot and the first one is visible. To see the next, click on the arrow in the upper right of the window. Click the arrow again to move through the results.
... the feature that you clicked on is highlighted on the map. The graphics show it as a cyan outline.
... the Zoom to link at the bottom will zoom the map to the feature that is shown in that pop-up.
... the ![]() include a few more options. Pan to moves the map to show that feature. Far more detailed numeric information can be explored by selecting View in Attribute Table.
include a few more options. Pan to moves the map to show that feature. Far more detailed numeric information can be explored by selecting View in Attribute Table.
Swipe
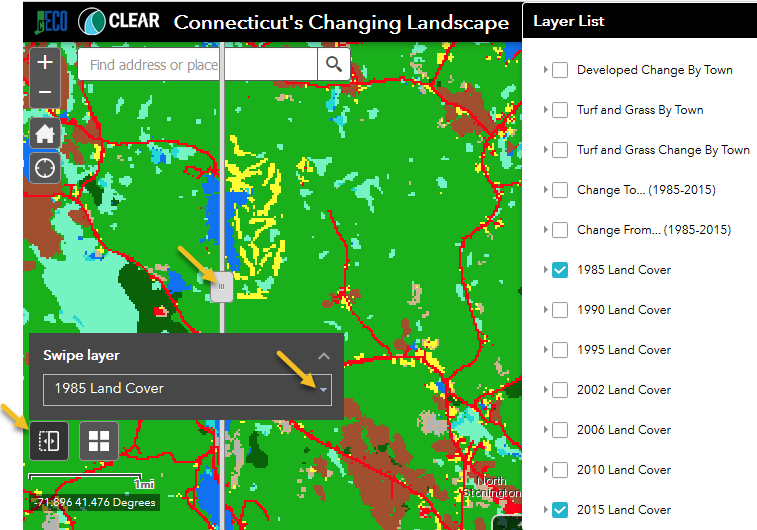
Use the Swipe Tool to compare the land cover and change layers. Here are the steps:
1. Uncheck, or turn off, all layers in the Layer List except the land cover layers that you would like to compare.
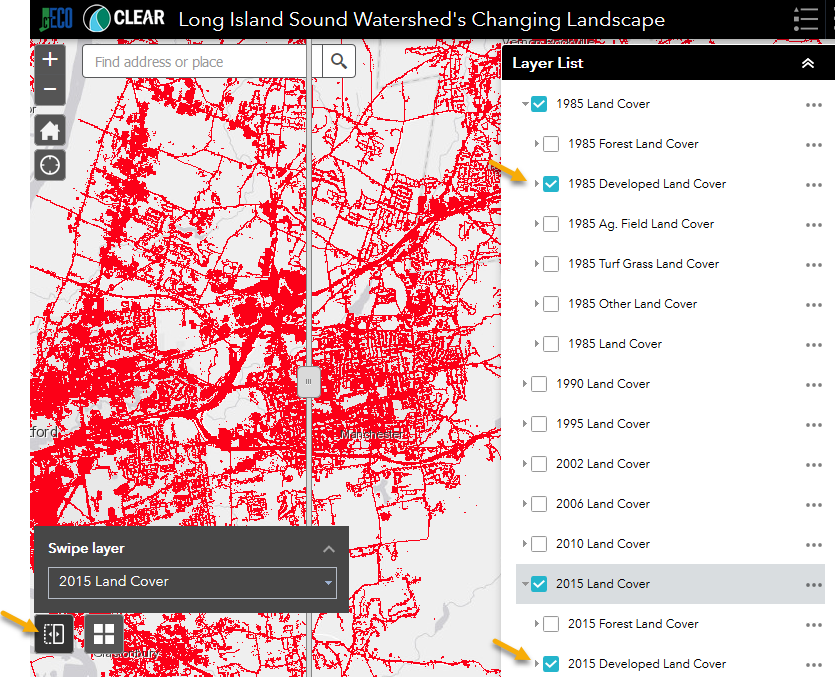
![]() 2. Click on the swipe icon (lower left). A slider opens as well as a menu. By default, the top most layer that is turned on will peel away to reveal the next layer that is turned on underneath it.
2. Click on the swipe icon (lower left). A slider opens as well as a menu. By default, the top most layer that is turned on will peel away to reveal the next layer that is turned on underneath it.
3. Use the dropdown menu to change which layer is peeled away. HOWEVER, if a land cover layer in the list is turned on and is above the layer that is selected in the swipe menu, it will hide the swipe. Uncheck the top layer in the Layer List to see the swipe.
4. Move the swipe line by clicking on the handle and dragging it side to side.
5. To turn off the swipe tool, click the swipe icon again.
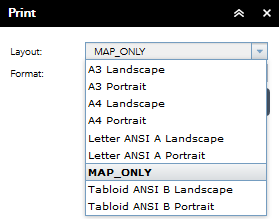
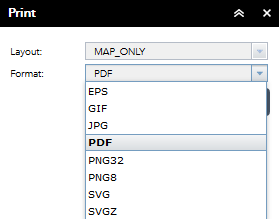
The print view provides some basic options for printing the map in the viewer including different layouts, formats and some Advanced options. Often taking a screenshot is enough and the easiest way to capture a map. Read about screenshots in this blog.
Share
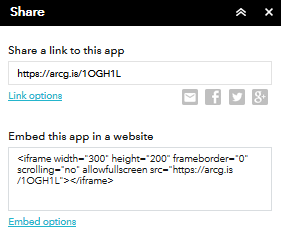
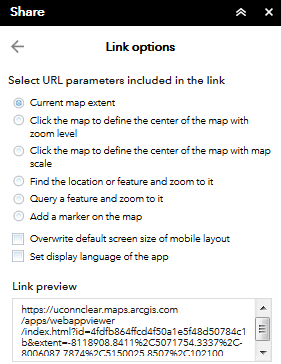
The share icon offers two ways to share your map digitally. The first is a link that can be copied and pasted into email, facebook, twitter, etc. Link options includes some choices for building the link as well as a preview. The second is Embed this app in a website. This is for people that have access to web site code. The embed code can be copied and pasted into the code of a web page.
Layer options: transparency, disable pop-up, change layer order
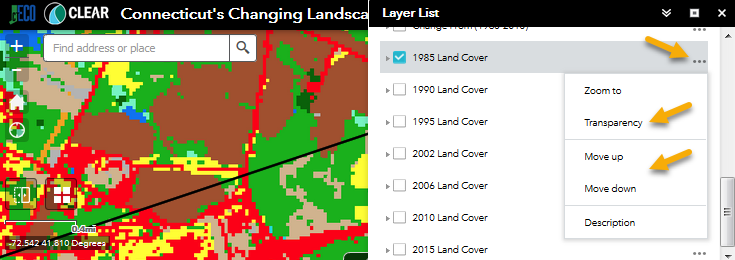
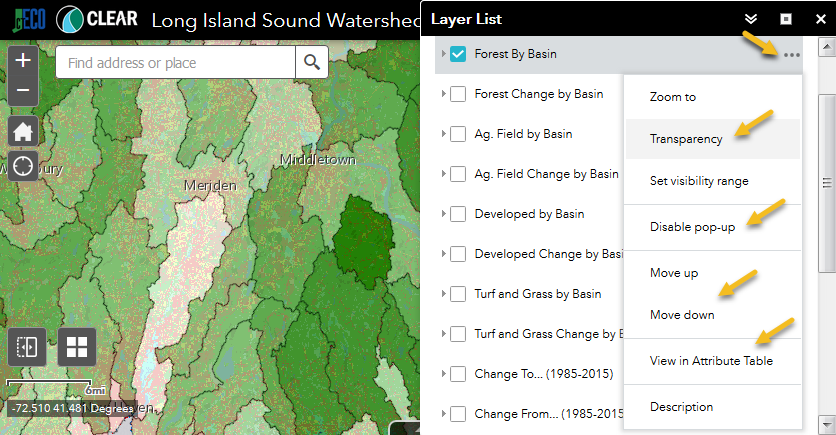
The ![]() next to each layer in the Layer List opens a menu with some useful options. Once is transparency so that other layers underneath can be partially visible. It is also possible to reorder the layers, and therefore the drawing order, in the Layer List. The town-based layers have pop-ups that can be disabled as well as an option to View the Attribute Table.
next to each layer in the Layer List opens a menu with some useful options. Once is transparency so that other layers underneath can be partially visible. It is also possible to reorder the layers, and therefore the drawing order, in the Layer List. The town-based layers have pop-ups that can be disabled as well as an option to View the Attribute Table.
Comparing Individual Land Cover Classes
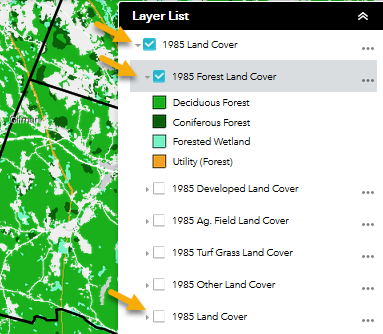 The Layer List is structured so that individual land cover classes can be viewed and compared. Click on the name of of a land cover in the Layer List (here, 1985 Land Cover). By default, only the complete land cover layer is turned on (here, 1985 Land Cover at the bottom). Turn off that layer and turn on an individual class layer, such as 1985 Forest Land Cover. Notice that just the forest classes are shown on the map. Do the same to see just developed, ag field, turf & grass or other.
A nifty way to look at change between a single land cover, such as developed, is to turn on the 1985 Developed and the 2015 Developed and use the Swipe tool to explore.
Basemap
The basemap icon opens a basemap gallery with many options to choose from. The default is the Light Gray Canvas and is visible in areas not covered by the other layers (beyond Connecticut). If you set transparency on the layers, the basemap may show through in Connecticut.
View Attribute Table
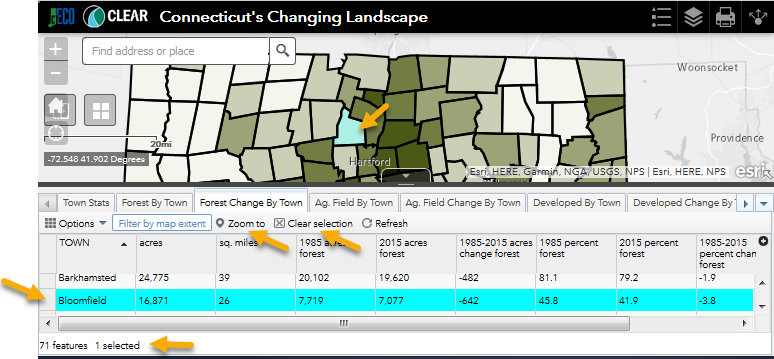
A wealth of numeric data is available by town in the attribute tables of each layer. To access the Attribute table, use the pop-up option OR click on the next to the layer name in the Layer List. Multiple tabs. The tabs show the table for each of the town layers in the map. Drag the handle in the middle to make the table taller or shorter.

Resize the columns by dragging.
 Sort columns alphabetically or numerically by clicking on the column heading and choosing Sort Ascending or Sort Descending.
View basic statistics of any numeric column (attribute) by clicking on the column heading and choosing Statistics. If a filter is in place, either through Filter by map extent OR the Filter tool on the Options menu, statistics will only be reported for the filtered records.
To show records related to only areas in the map view, choose filter by map extent in the table.
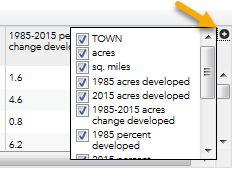
To hide or display different columns (attributes) in the table, click the black + and uncheck or check items.
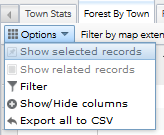 Use the Options menu to Filter records, show or hide columns (just like above) and export tabular data to a CSV. A CSV file can be imported into excel.
Select a record (or records) in the table by clicking on the square on the left. Hold the shift key to select multiple sequential records and hold the Ctrl key to select multiple individual records. Notice that the selected records are also visibly selected on the map. Click Zoom to to change the map extent to include all selected records. Clear selection unselects all records (rows).
 Pop-ups